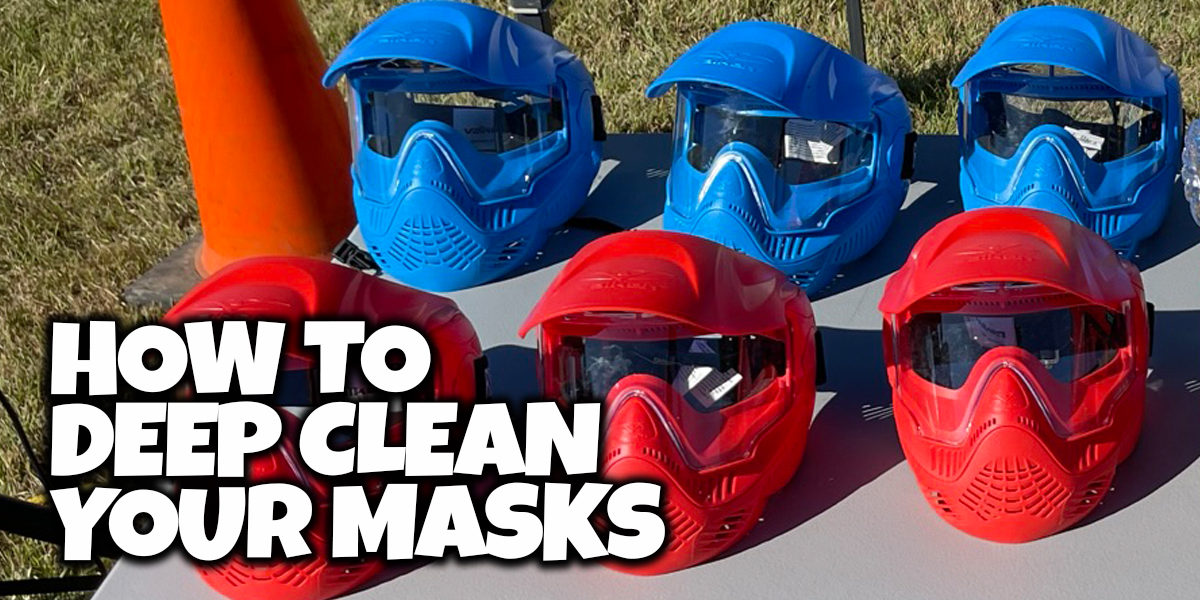
How to DEEP CLEAN your Masks
In this informative guide, we will discuss a thorough method for cleaning masks, known as a deep clean, as demonstrated by Doug from Michigan GellyBall. Deep cleaning is necessary every three to four days when masks accumulate dirt and grime.
To initiate the deep cleaning process, remove the mask and use a screwdriver to turn the Carter key, releasing the clip on both sides. Once the clips are removed, carefully take out the lens and set it aside. Next, grab some Windex and a paper towel to wipe the lens clean. Doug emphasizes using sanitizing wipes, which are effective for deep cleaning the inside of the mask. He demonstrates wiping the inside of the mask thoroughly with a sanitizing wipe, ensuring every crevice is sanitized. It is important to sanitize the mask each time it is used.
Doug emphasizes that the deep cleaning method they employ has kept their masks in excellent condition for three years. Once the mask and lens are clean, allow them to dry for a few minutes. Afterwards, reassemble the mask by sliding the lens back into place. Insert the clip on one side and securely snap it into position. Repeat the process on the other side, making sure both clips are securely fastened. Finally, Doug showcases the finished product, a perfectly clean and renewed mask.
This deep cleaning and sanitization process is essential for maintaining the longevity and hygiene of masks. Doug provides a brief overview of their quick clean method, which will be elaborated on in their next video. Following these cleaning techniques will ensure your masks remain in excellent condition for prolonged use.
A Thorough Guide to Deep Cleaning Masks: Expert Tips from Michigan GellyBall
Introduction: In this informative guide, we will explore the deep cleaning method for masks, as demonstrated by Doug from Michigan GellyBall. Regular deep cleaning is essential to remove accumulated dirt and grime, ensuring the longevity and hygiene of your masks. Let’s dive into the step-by-step process of deep cleaning masks.
Removing the Mask Components
To initiate the deep cleaning process, start by removing the mask from your face. Then, use a screwdriver to turn the Carter key, releasing the clip on both sides of the mask. Carefully take out the lens and set it aside. This step allows for proper access to clean all the mask components thoroughly.
Cleaning the Lens
Now that you have removed the lens, grab some Windex and a paper towel to wipe it clean. Doug from Michigan GellyBall recommends using sanitizing wipes, which are highly effective in deep cleaning the inside of the mask as well. These wipes can help sanitize every crevice, ensuring optimal hygiene.
Sanitizing the Mask
Without proper sanitization, masks can become a breeding ground for bacteria and odors. Doug emphasizes the importance of sanitizing the mask after every use to maintain its cleanliness. Take a sanitizing wipe and thoroughly wipe the inside of the mask, paying close attention to all the nooks and crannies. This step ensures that any sweat, dirt, or contaminants are eliminated, leaving your mask fresh and ready for further use.
Drying and Reassembling the Mask
After cleaning the lens and sanitizing the mask, allow them to air dry for a few minutes. This short waiting period ensures there is no moisture left before reassembling the mask. Once dry, slide the lens back into place, ensuring it fits securely. Insert the clip on one side and snap it into position. Repeat the process on the other side, ensuring both clips are securely fastened. This careful reassembly guarantees that your mask is restored to its original form, clean and ready for action.
Conclusion: Using the deep cleaning and sanitization method shared by Doug from Michigan GellyBall will keep your masks in excellent condition for years to come. Regular deep cleaning ensures the removal of accumulated dirt, grime, and bacteria, maintaining both hygiene and the longevity of your masks. Make sure to follow these cleaning techniques to enjoy your masks for extended periods without compromising on health and cleanliness.


